Chasing, Collections & Dunning
What is chasing, collections, or dunning? Chasing, collections, or dunning is the process of pursuing payments from customers who have not paid their invoices. This can involve sending reminder letters, phone calls, emails, text messages, and robocalls, and even taking legal action. The goal is to get the customer to pay what they owe, so that the business has enough cash flow to continue to operate smoothly.
How to set up Automated Chasing Cadences
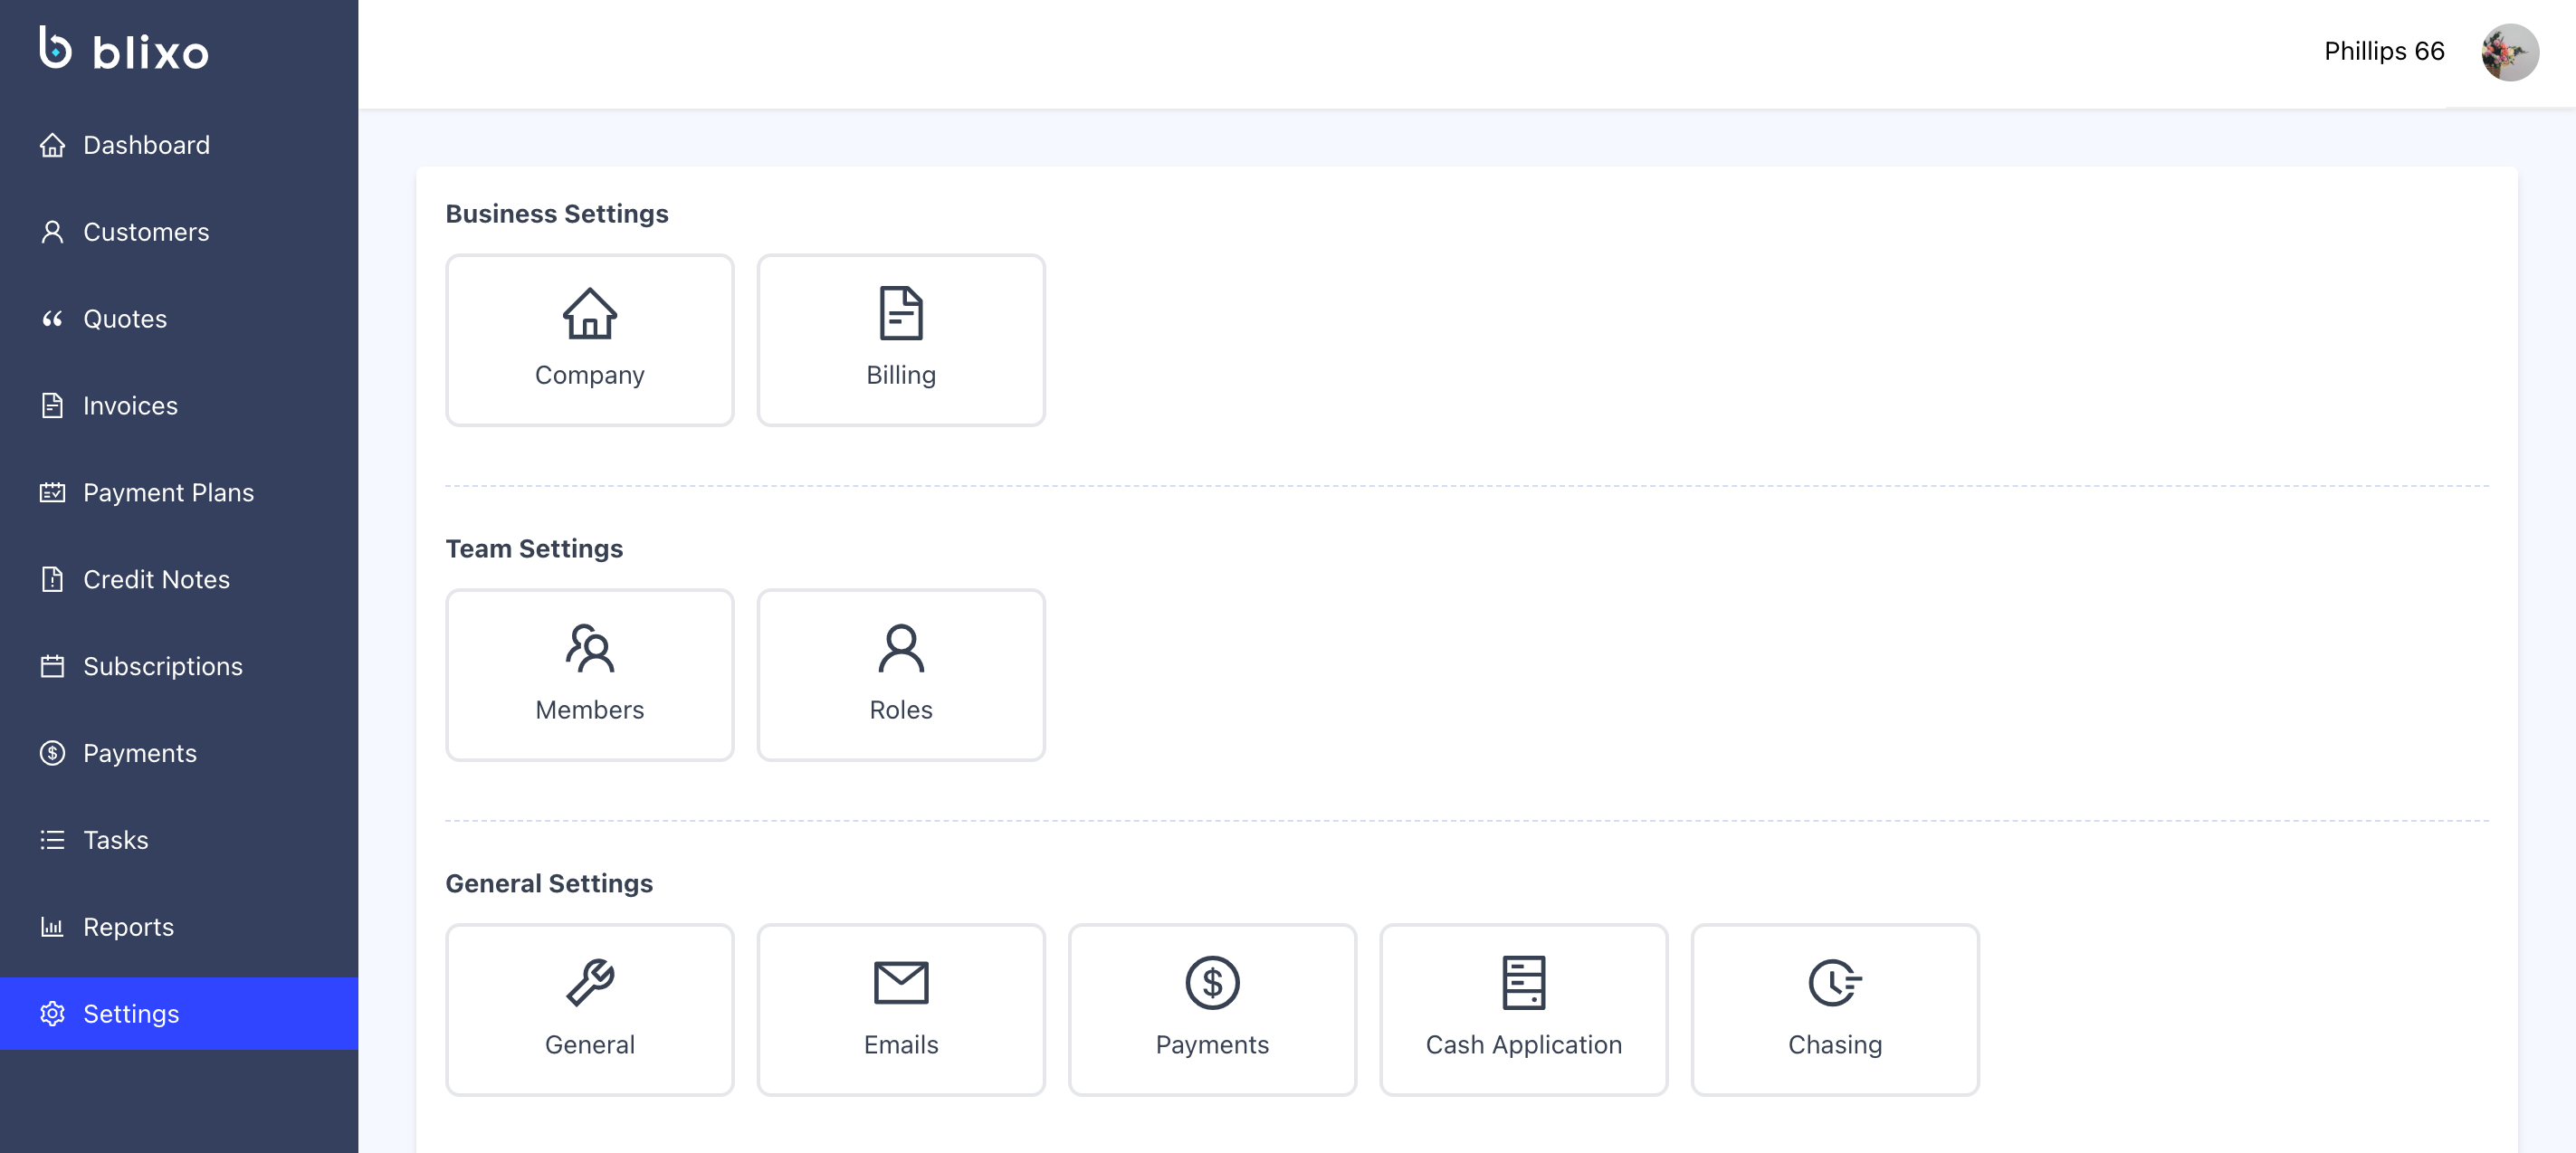
To get to the Chasing feature, you will need to click on settings on the Blixo sidebar,
Scroll down to the “General Settings” and click on “Chasing”
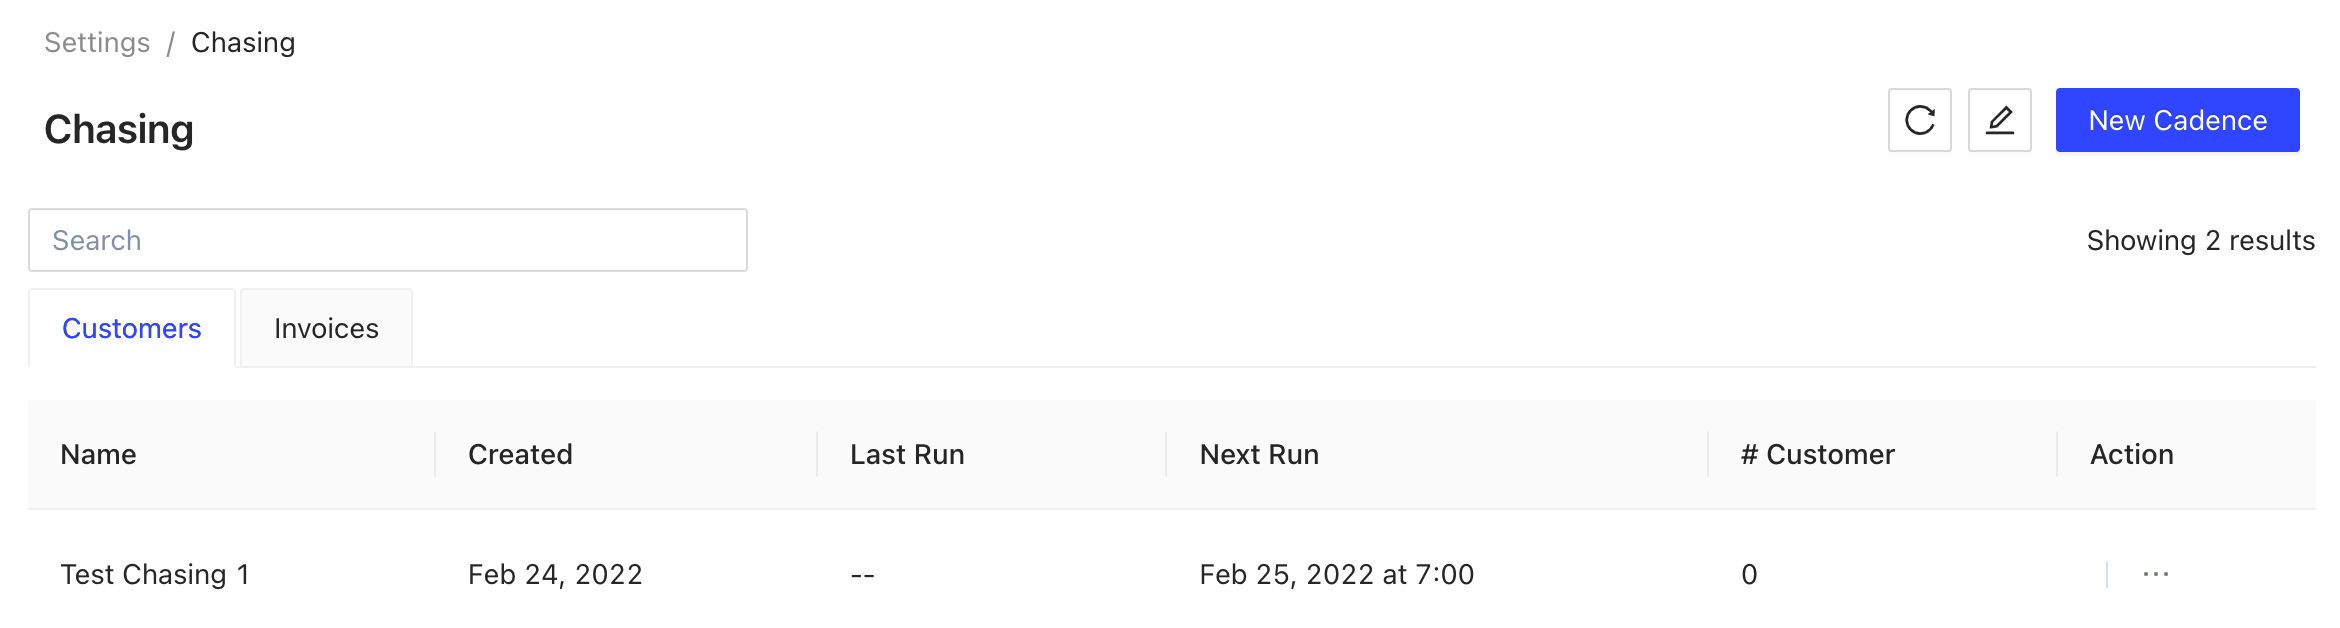
That will bring you to this page

If you have created any cadences they will be listed here. We will create a new cadence by clicking the button “New Cadence”
This will bring you to this screen to begin creating a cadence, Starting with Step 1
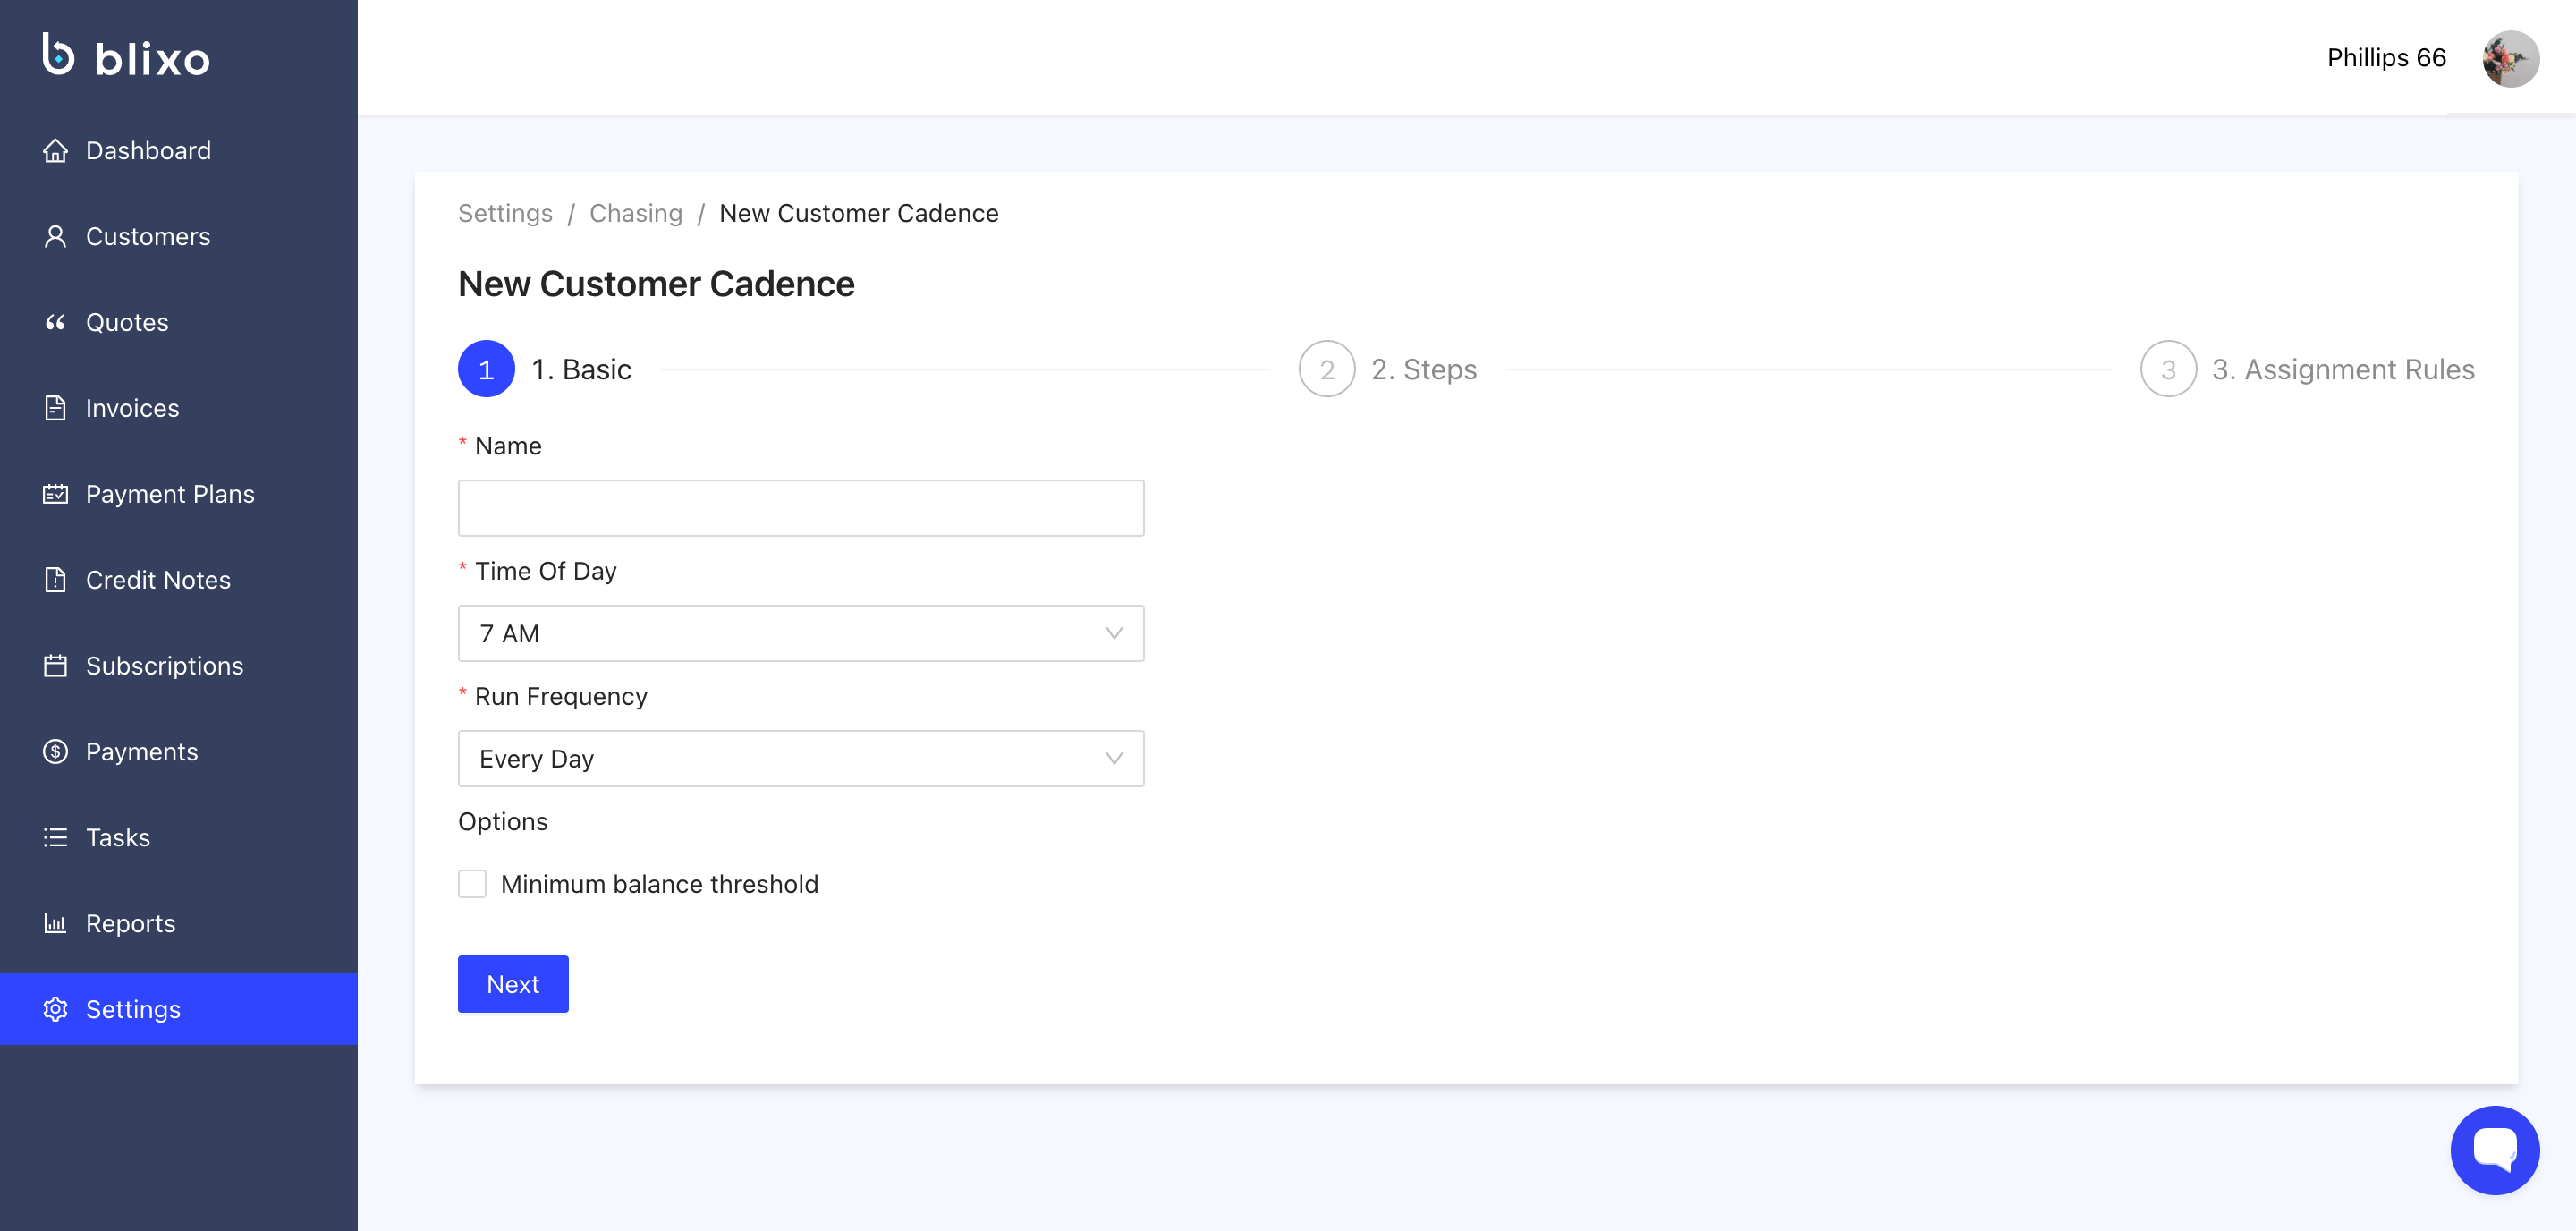
Fill out Name, Time, and Frequency.
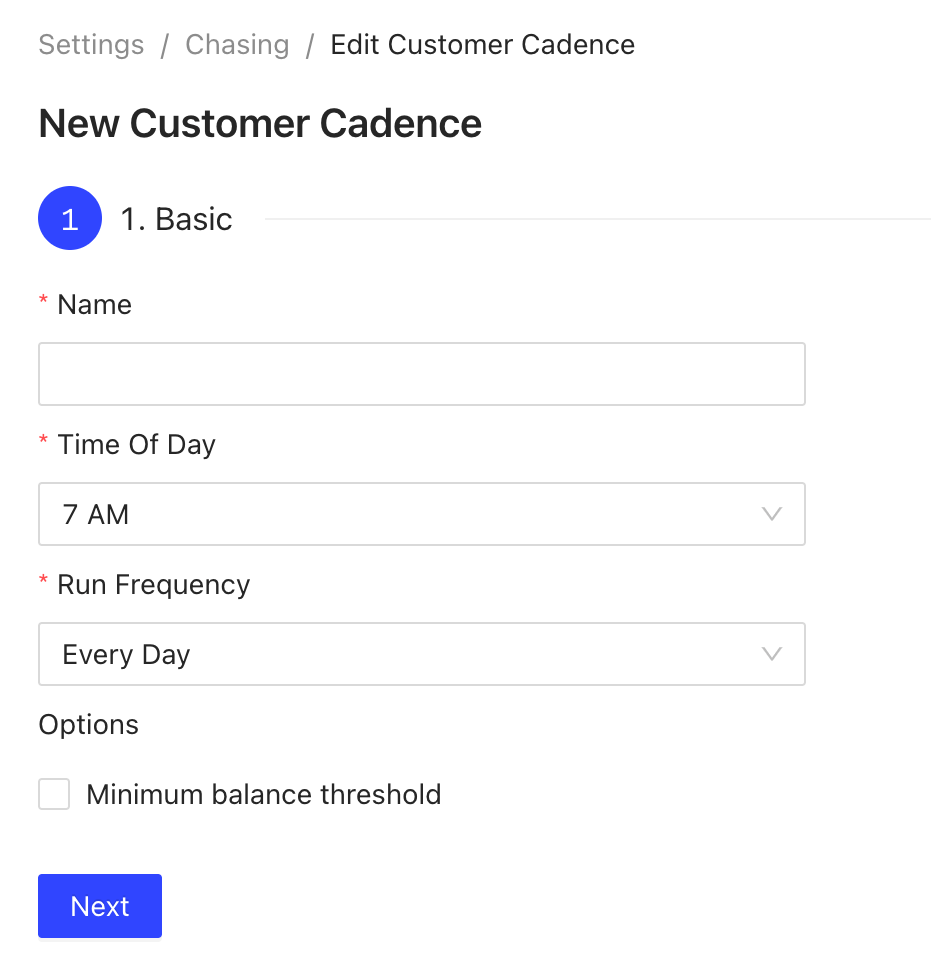
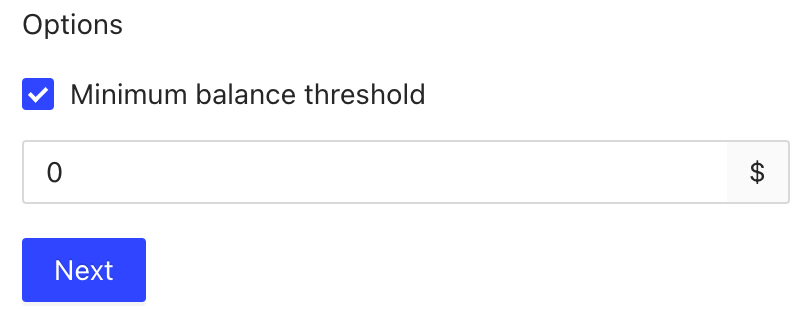
If you like to set a “Minimum, Balance Threshold” click on the small box and set an amount. Once you are done click on “next” to go to step 2
In step 2 you can create a schedule
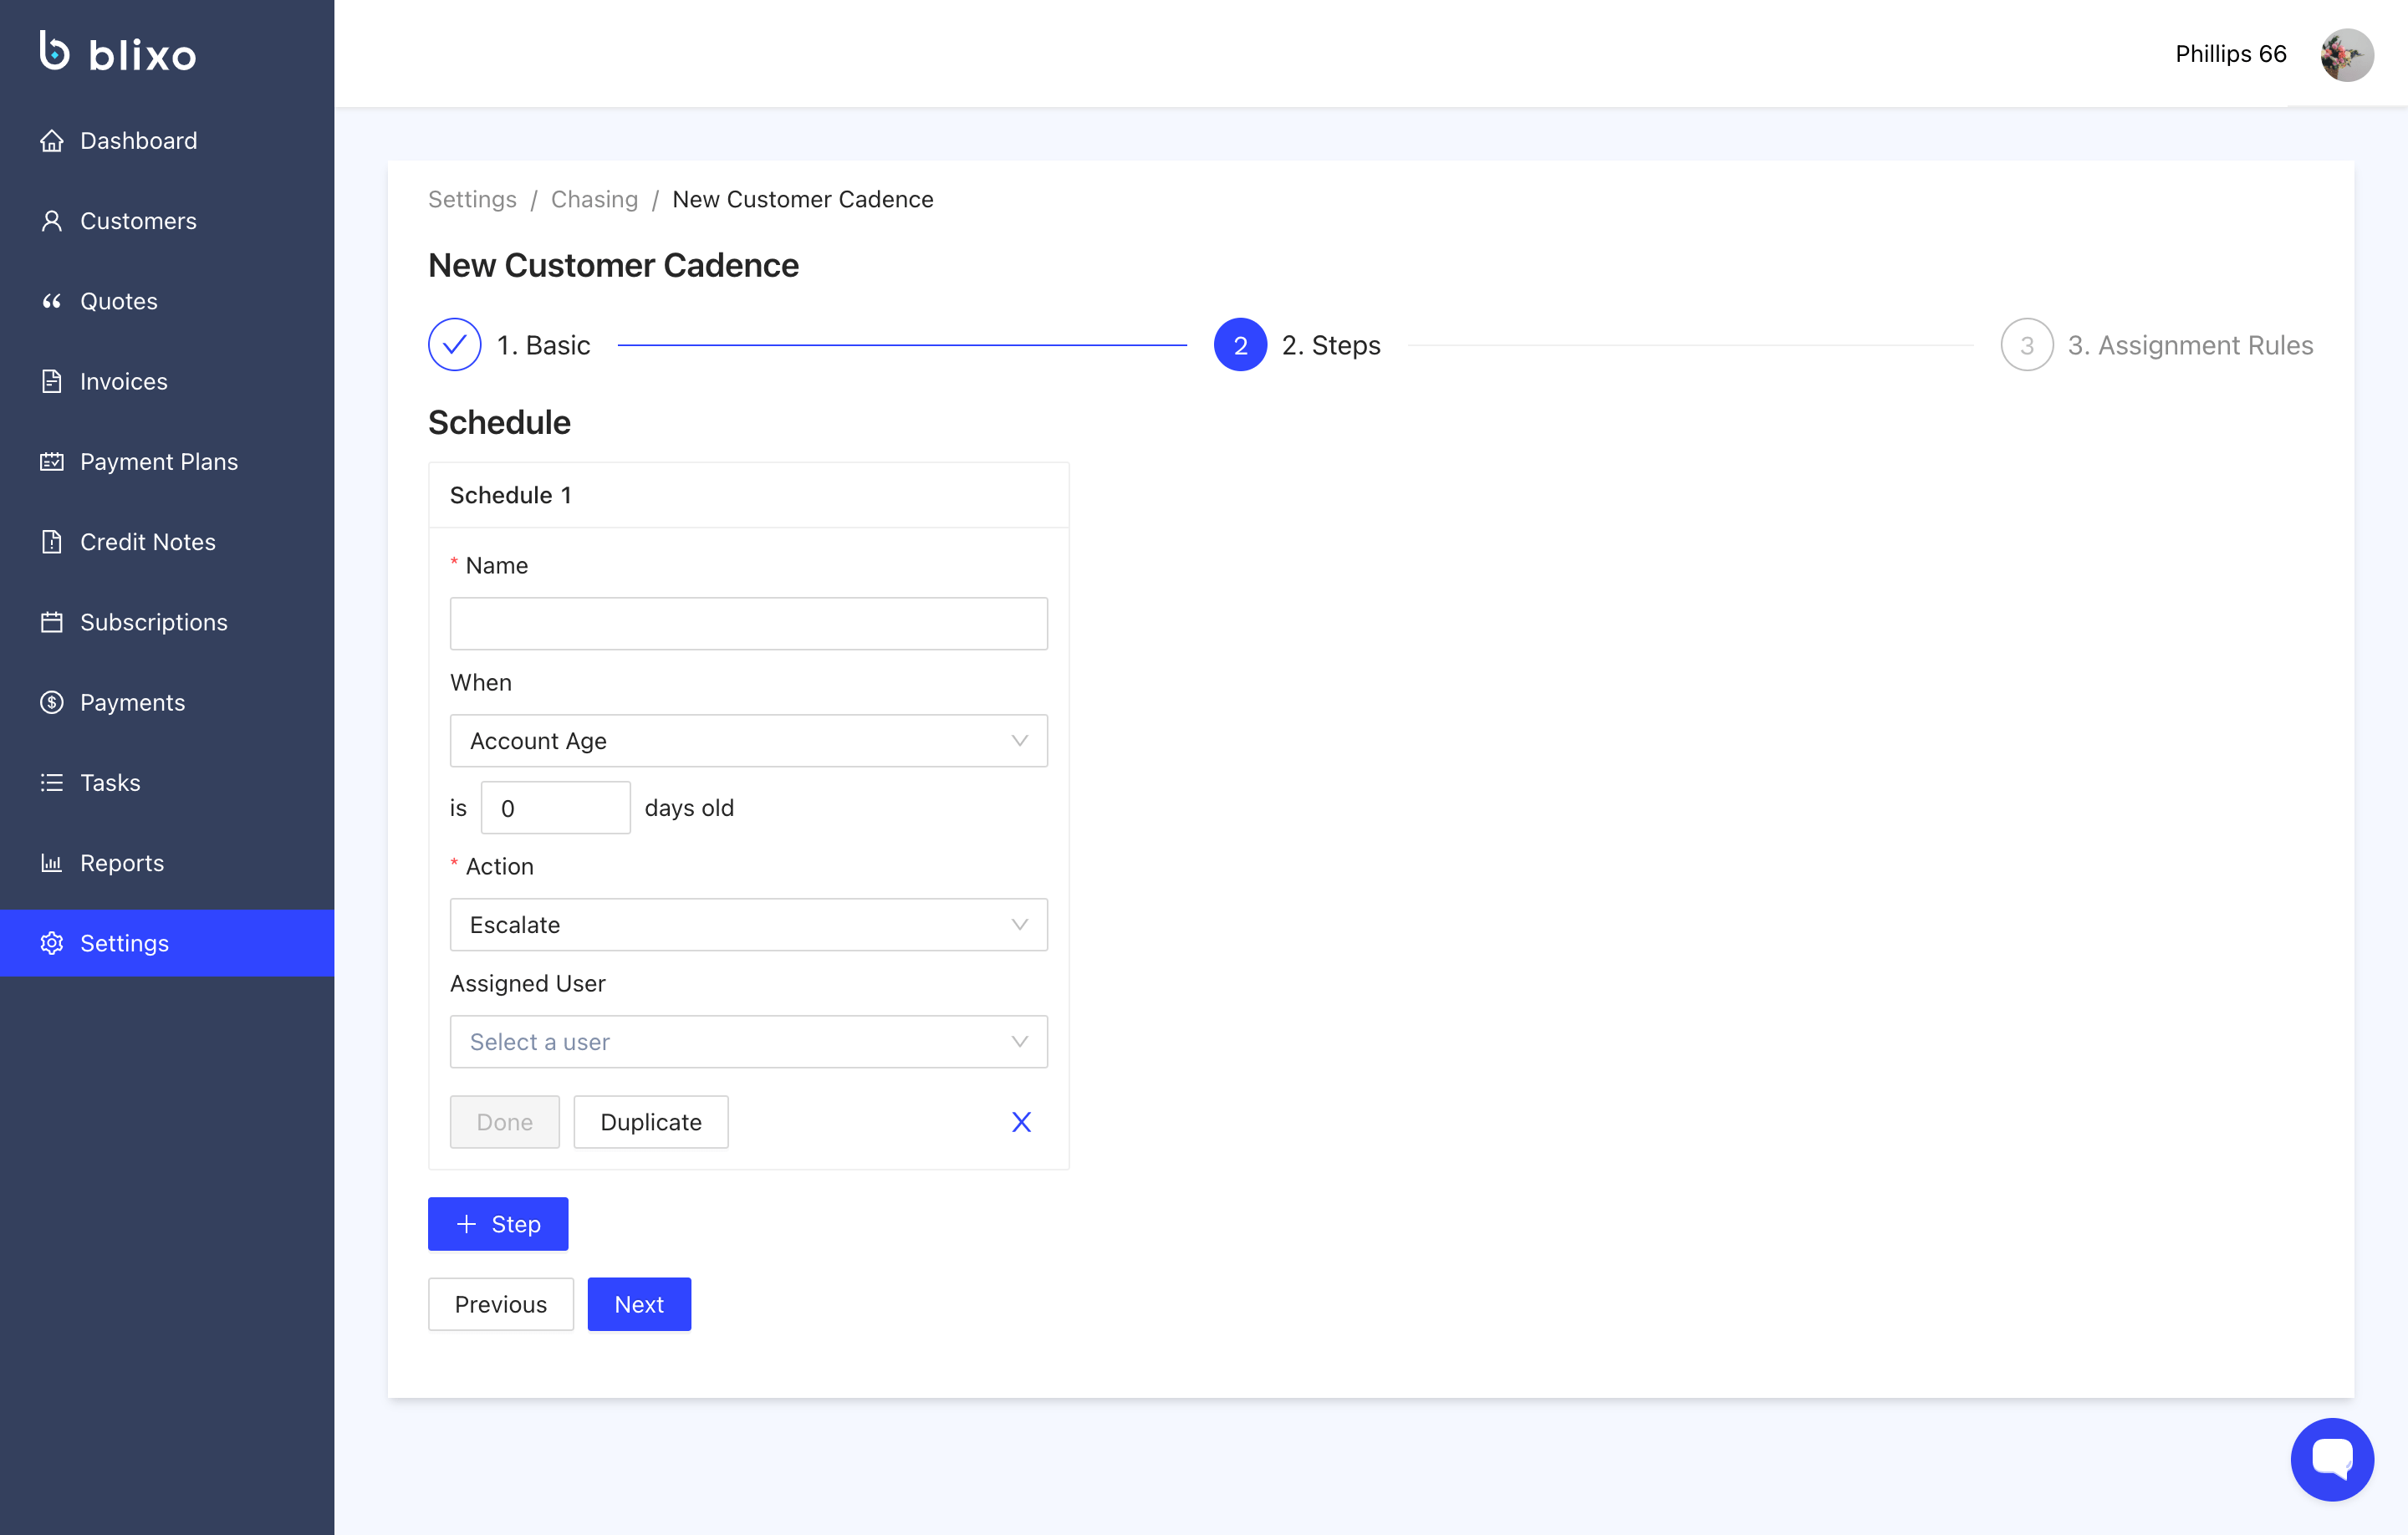
You can then fill out the Name , When (based on account age or Past due) and set the number of days. Once you get to action you will have 2 choices. The first is you can Escalate, and assign a specific person to the issue, or you can send an email notice to the customer who is late.
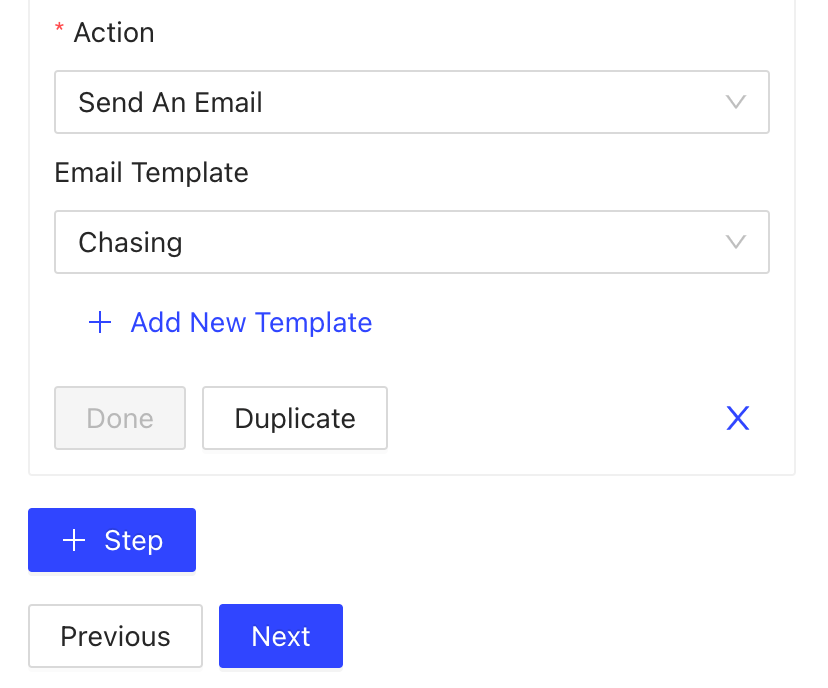
If you selected “Send an Email” you will either choose an existing template or “Add new Template” to create a new template that can be used,
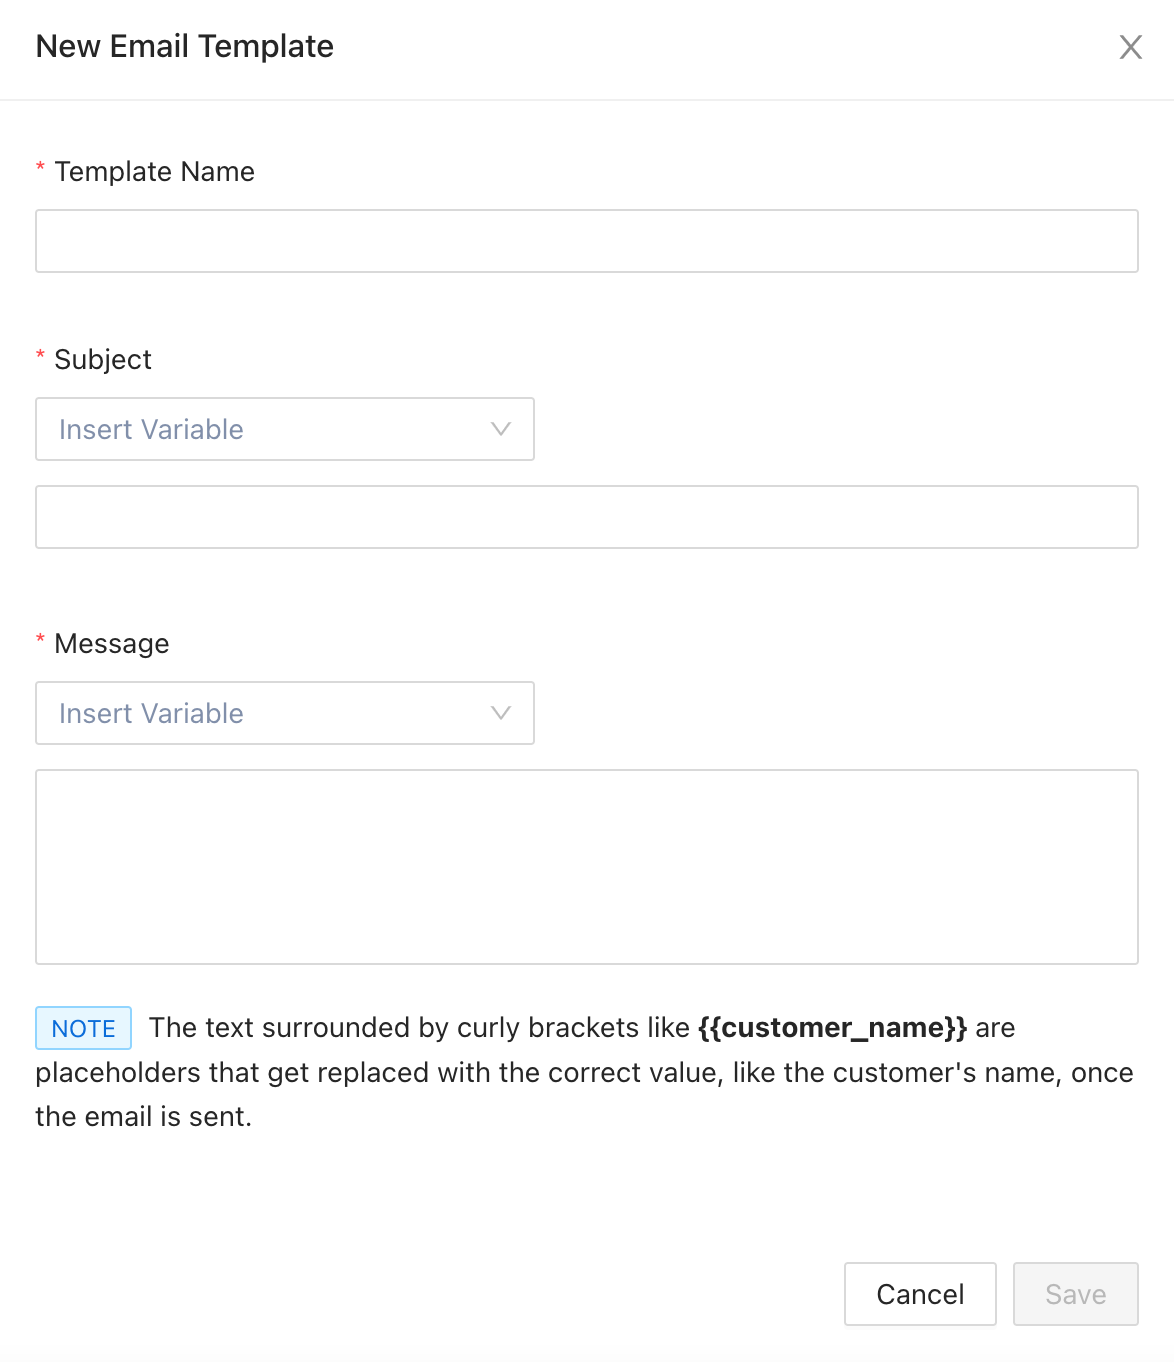
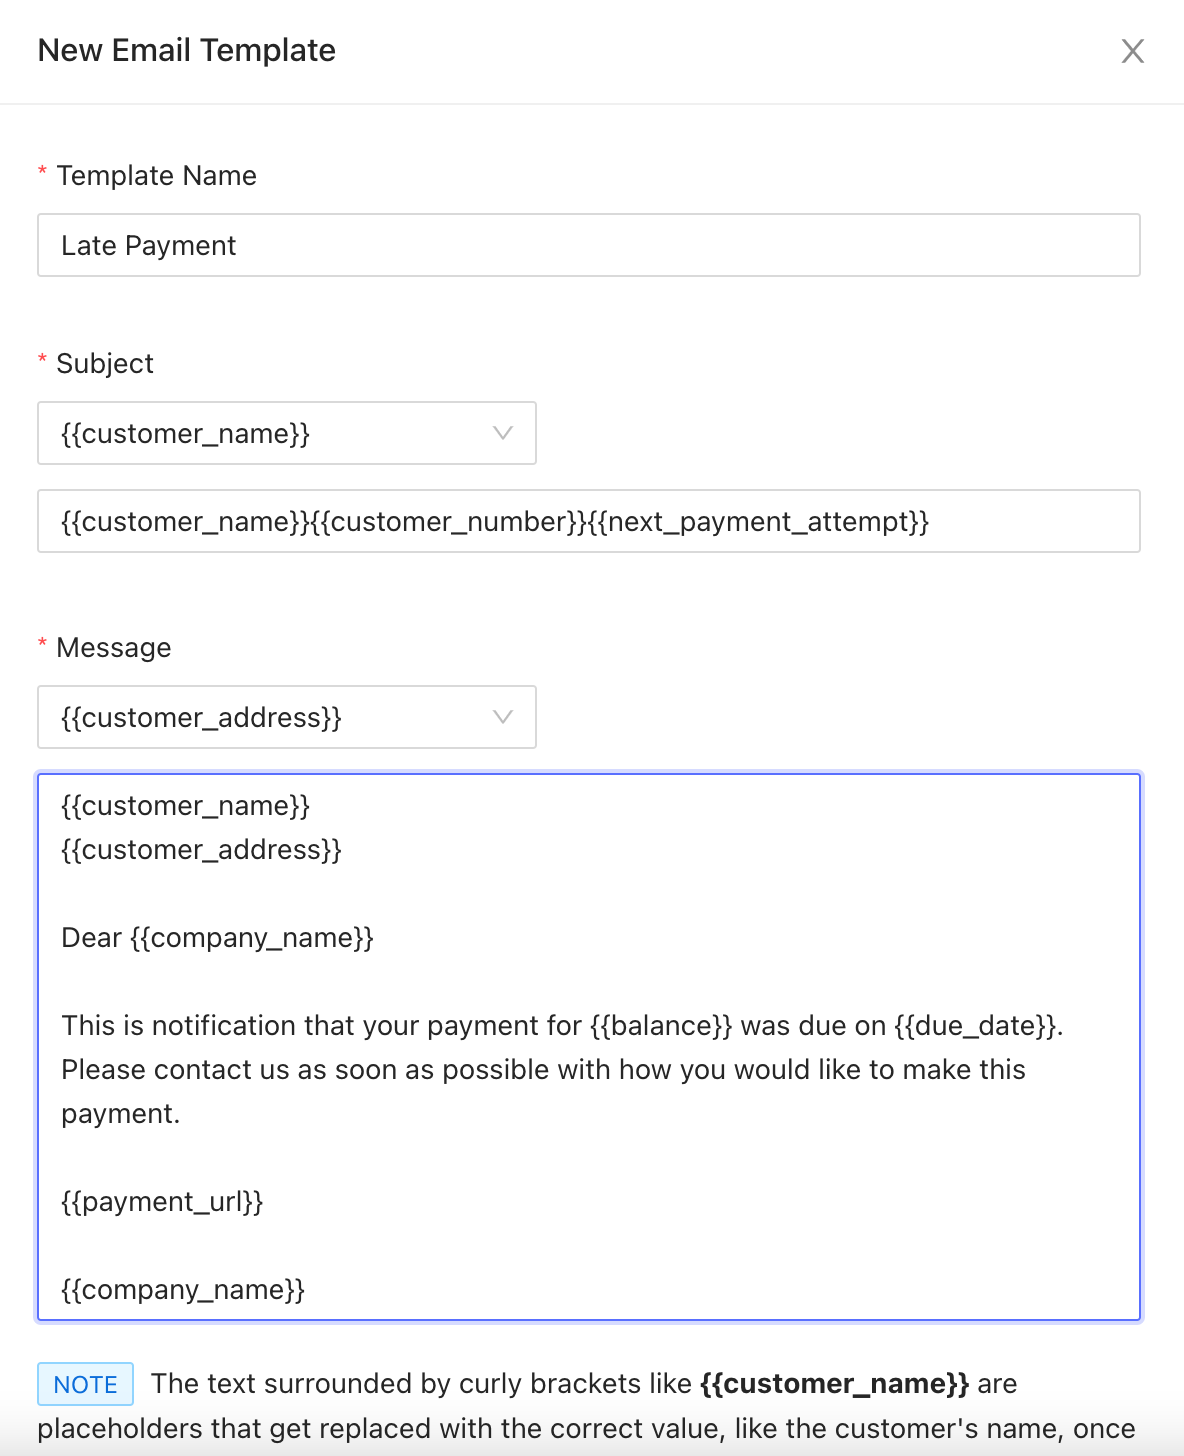
You can fill out the Template Name, Subject, and Message. You can combine your own words or your predefined criteria using the drop down menu along with your message.
At the bottom choose what you want to display on the button in the email. And then lick on “save”.

It will bring you back to the previous screen, and click on the “Done” Button or duplicate if you want to make a copy of that schedule to edit instead of filling in all the work again.
You will then have 3 mother options:
“Step“ will allow you to create a concurring step with the schedule you just created.
“Previous” will take you back to edit the last Schedule you worked on.
“Next” will bring you to the next step.
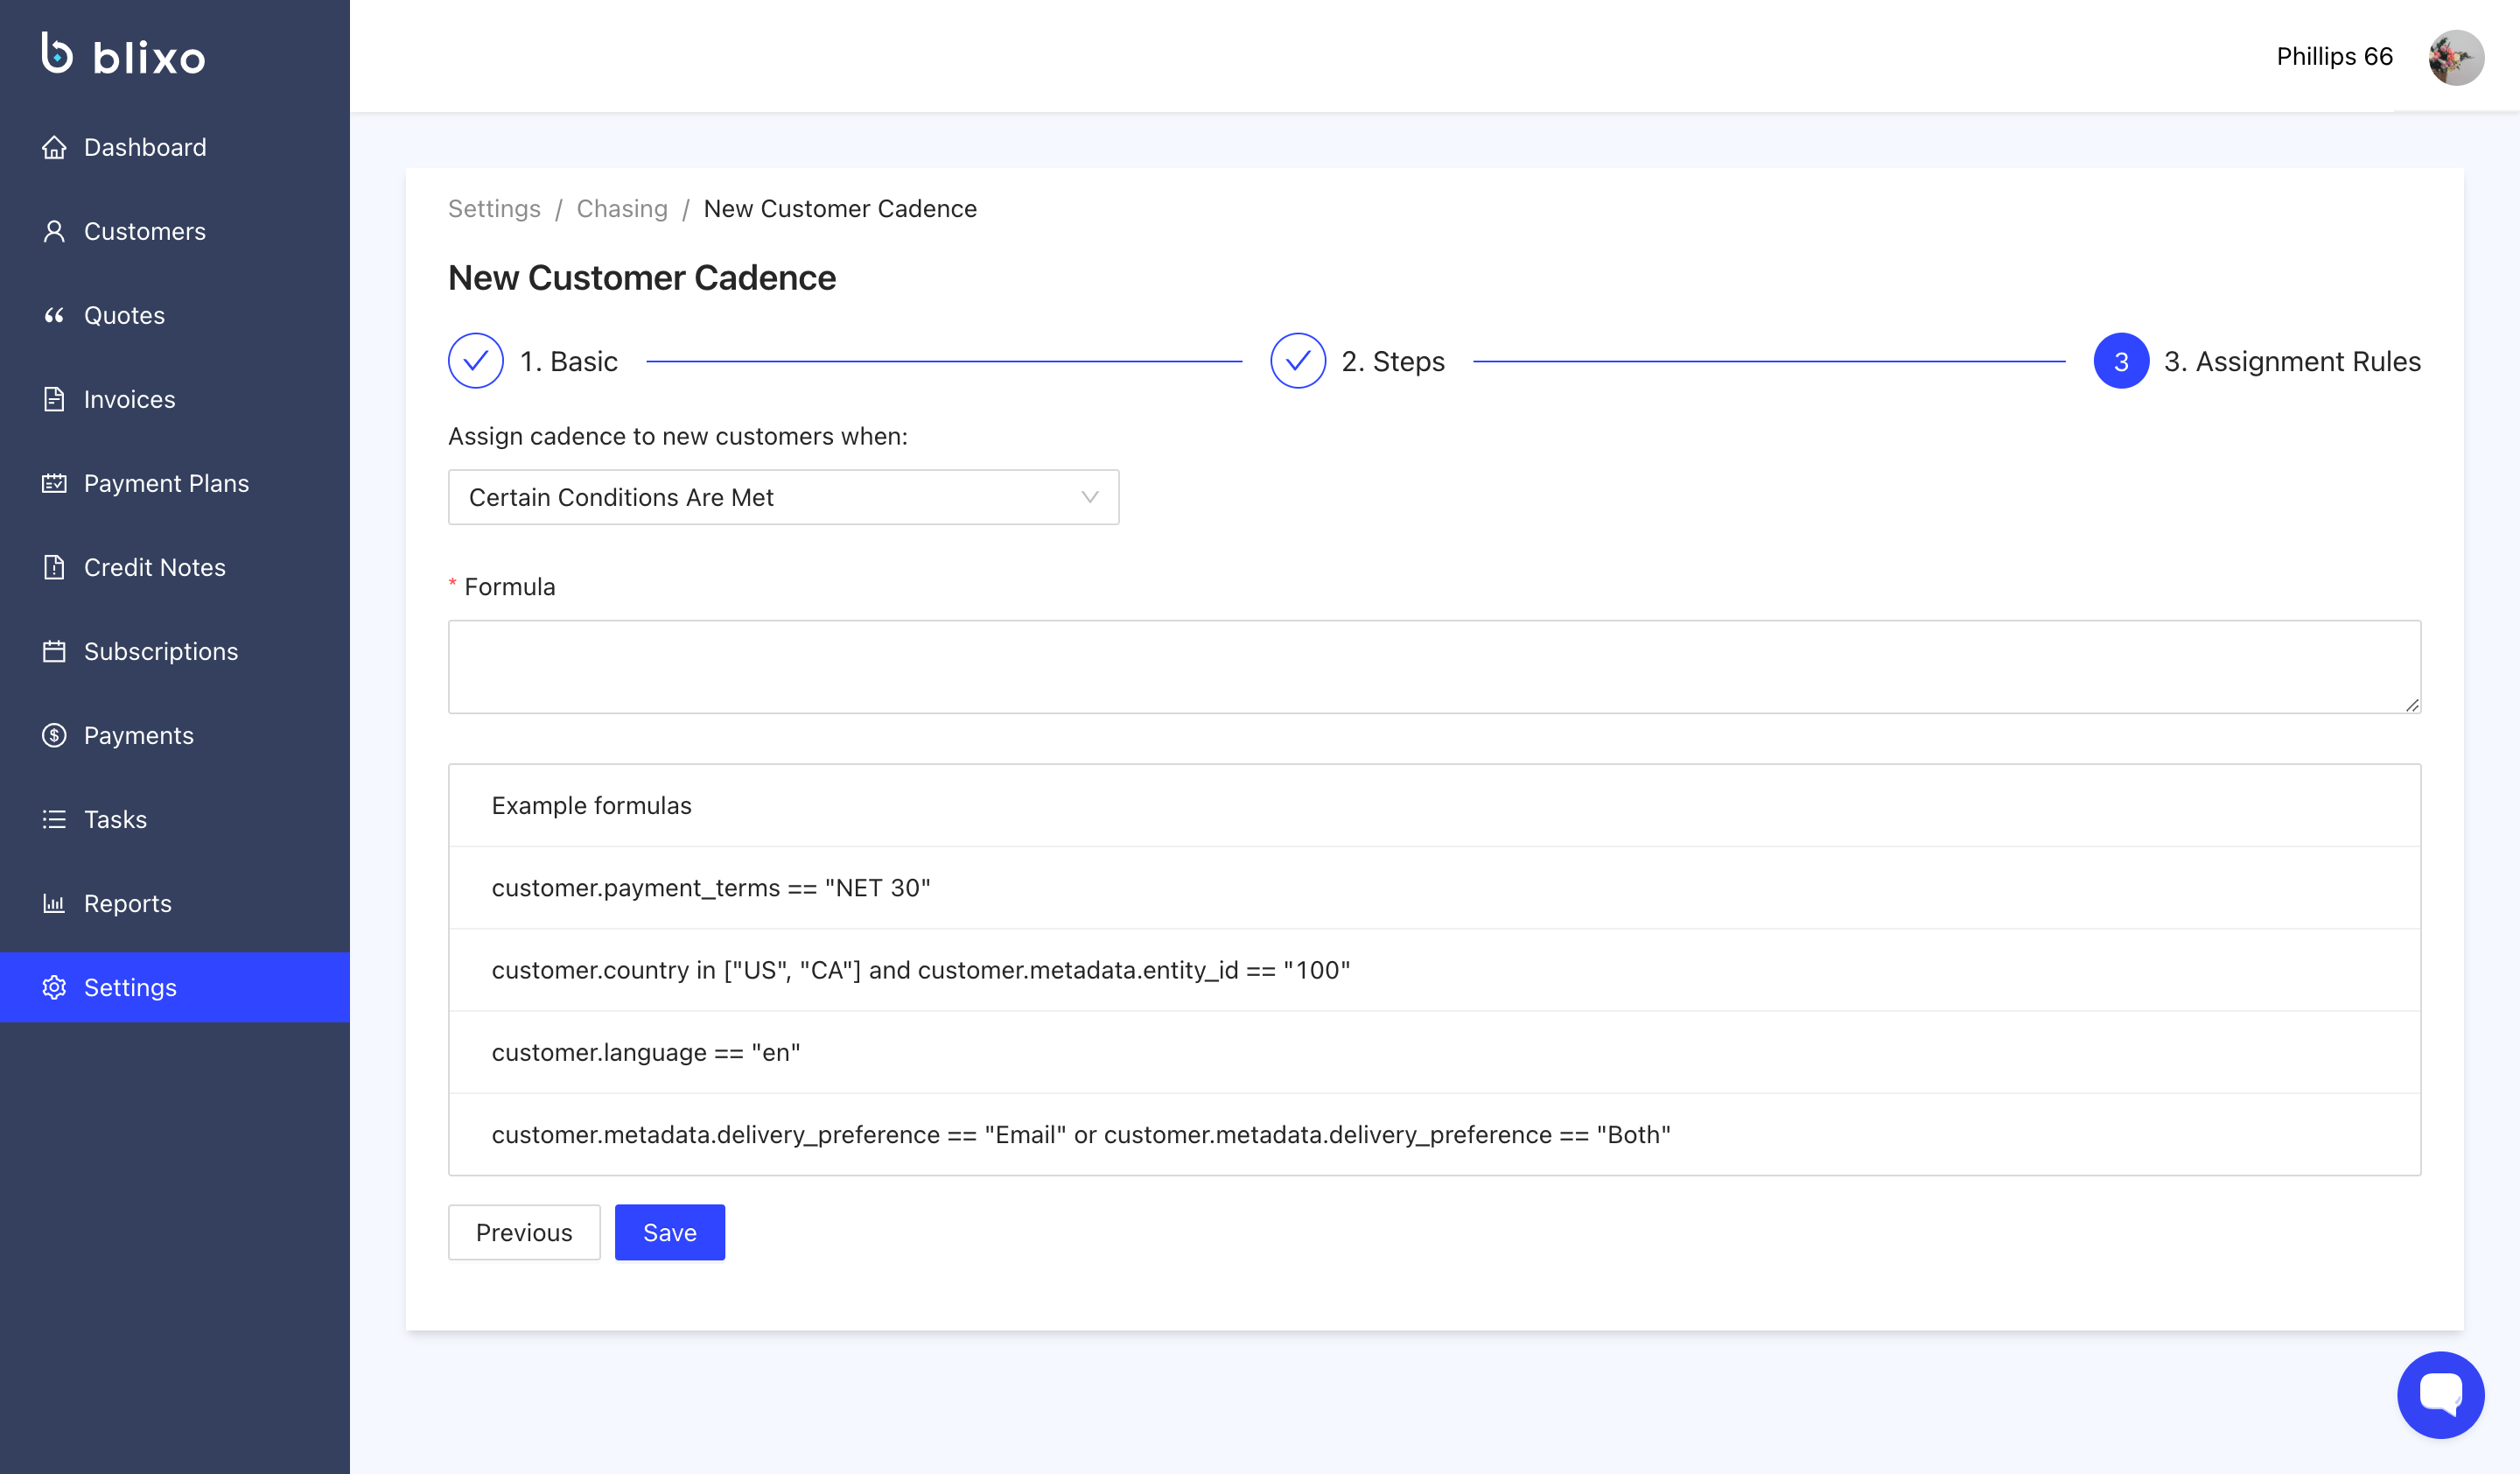
After clicking “Next” it will bring you to Step 3, To assign Cadence to a new customer.

You have 3 options in the drop down menu
“Never”
“Always”
“Certain Conditions Are Met”
If you choose “Never” or “Always” then you can click “Save” and you are done.
If you chose “Certain Conditions Are Met” you can then set a formula for those conditions to be applied to new customer and then save.
And you have successfully created a chasing cadence,